Modern digital SLR cameras come equipped with a pretty accurate ‘auto’ white balance function but it isn’t always perfect.
It may perform brilliantly in external light but move in doors with a range of different light sources and things get a little less accurate.
Welcome the Grey Card.
The combination of shooting RAW combined with the use of an 18% Grey card offers vastly improved white balancing. Grey cards come in a range of forms from 6×4 grey pieces of cards to dedicated full-blown reflector size screens.
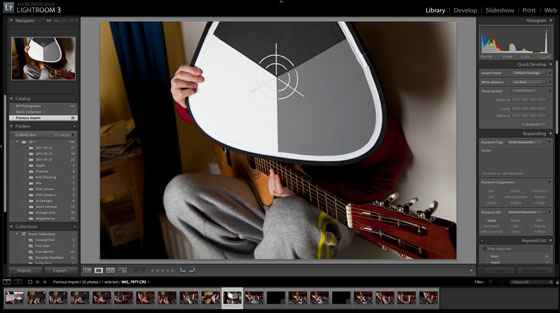
In any photographic situation you will be taking more than a single photo. Once you have set up the scene with the various props and light sources take a photo with your model holding your 18% grey card.
In Lightroom

Once you have imported your photos you can how use the photograph featuring the grey card to set the white balance for the shoot. To do this load the image and enter the developer module.
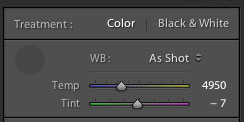
In the tools section click the white balance dropper then click anywhere on the 18% grey area and Lightroom will adjust the white balance accordingly.
If you don’t have a grey card you can click around on the various grey areas to preview the resultant adjustment.

Obviously using a grey card is much more accurate but obviously there are times when carrying around the grey card isn’t practical such as music photography etc.
Syncing White Balance
Once you have set the white balance on one of the photographs it is easy to sync the setting across the set.
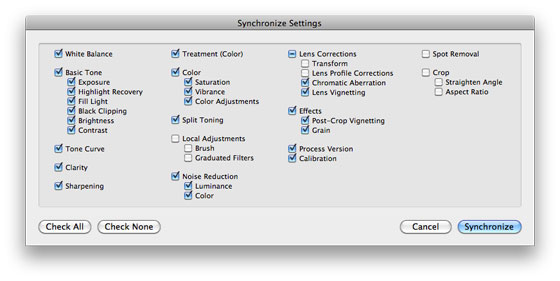
Select all of the photos from the shoot and click the “sync” button.

As you can see Lightroom allows you to sync any customisation to a photo so you can make a number of adjustments on a single image and sync them across all the images selected.
Click Synchronise and every image selected now has the same white balance.
Easy as pie! Thanks for the tip.
While this is really easy, I’ve found much better results, and more realistic color tones can be had from setting a custom white balance before shooting the event. If you’re taking the time to shoot a gray-card in hopes of syncing after the fact, why not just push a few buttons on your camera and set it right the first time?
I often use whites of eyes as my white reference…